⭐ SPECIAL OFFER | Join thousands of students today. 100% Money-Back Guarantee.

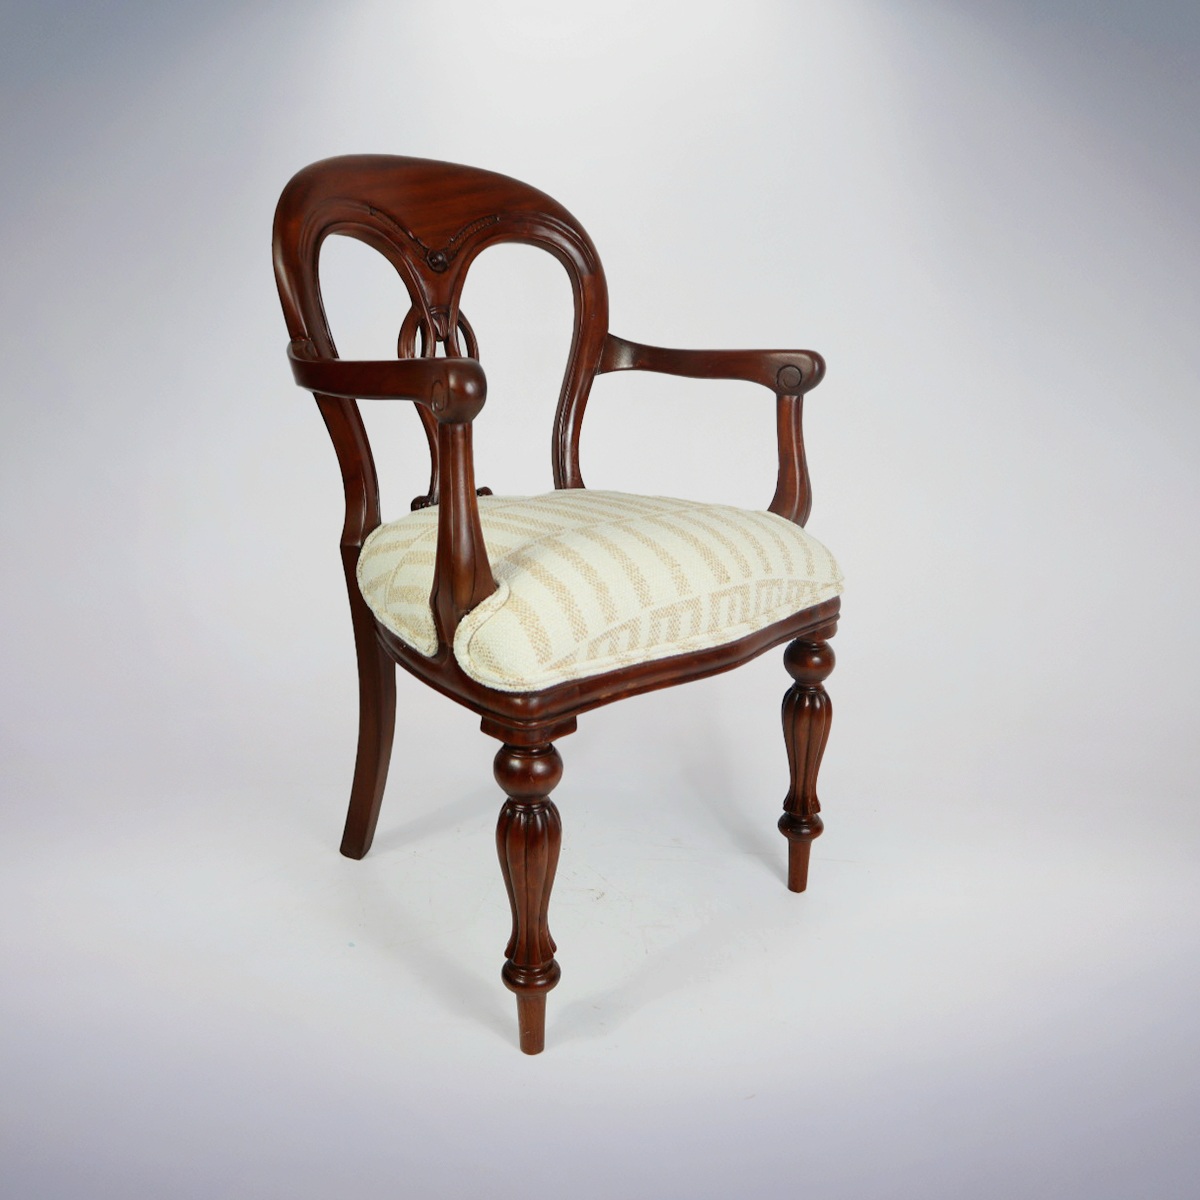
Fiddle Back Carver Chair Course
7
02:18:12
Plan: Intermediate
Learn the essential skills to completely transform a Fiddle Back Carver Chair. In this hands-on course, you’ll master how to paint,lacquer and upholster
Purchase this course
Upgrade your skills with our one-time purchase upholstery course.
Learn step-by-step techniques—no subscription needed.
👉 Buy once, access forever!
What you will learn
Our staining approach, including how to bring out the natural grain of the wood and achieve the intended finish for this classic chair design. We explain the look we’re aiming for and the techniques used to achieve consistent, professional results.
How to accurately cut and fit fabric around the rails, working carefully around detailed shapes and decorative elements that require precision
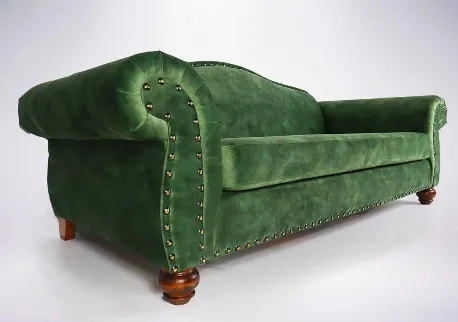
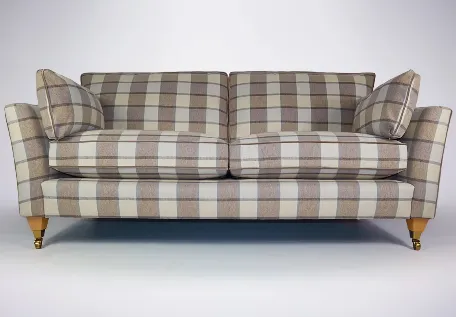
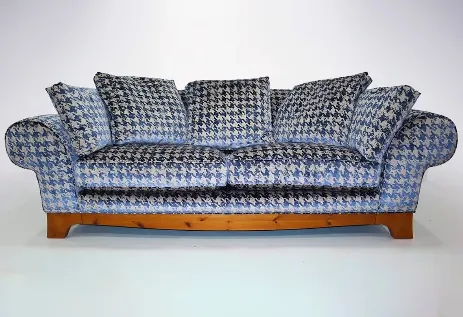
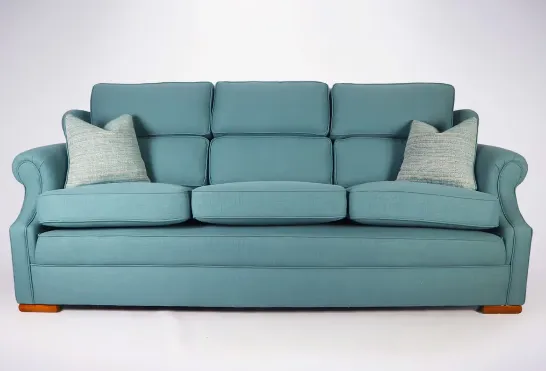
What our students can make
Choose Your Lesson
How To Stain, Lacquer and Upholster
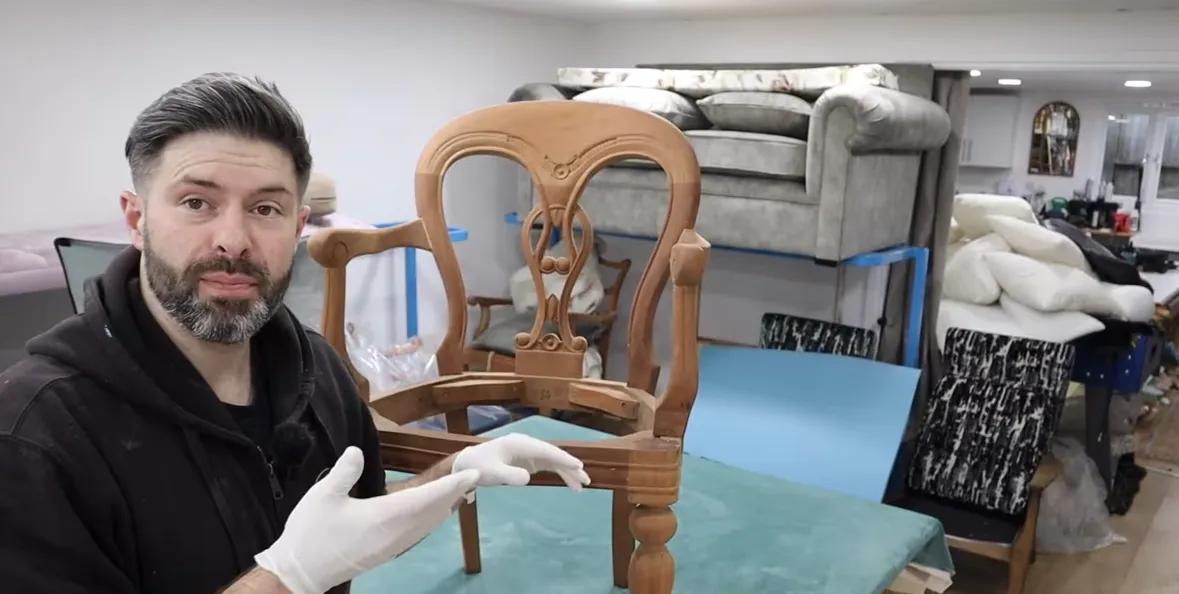
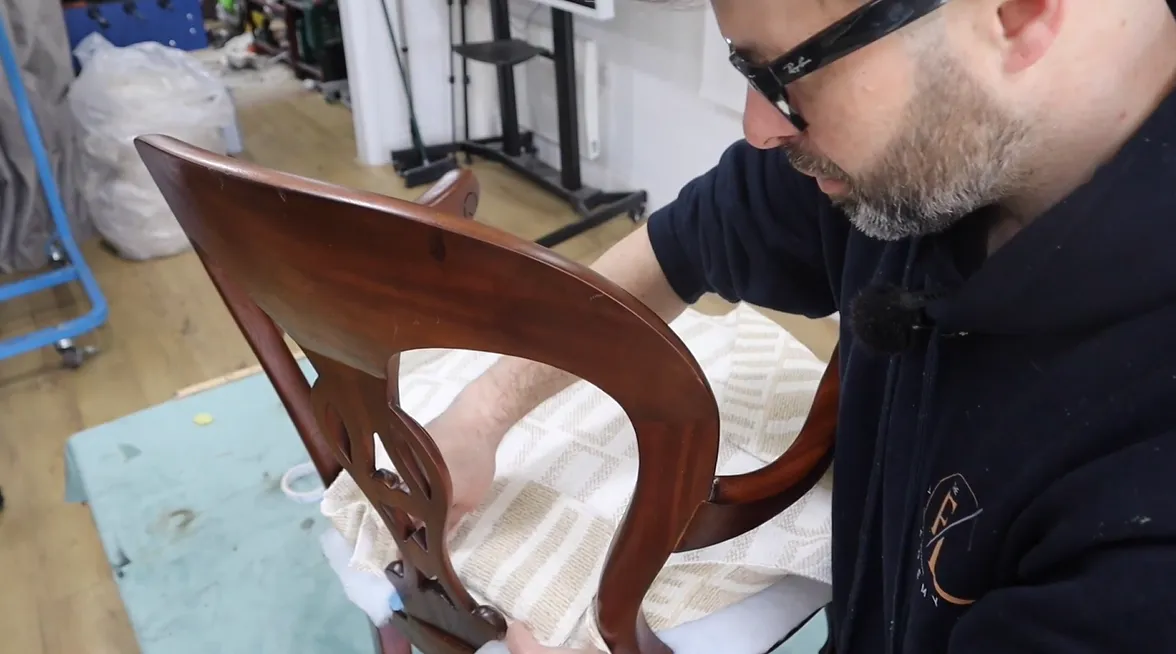
In this introductory video, we show you how the Fiddle Back chair frame arrives from our friends at Antique Street, which you can also purchase through the Academy shop. We talk you through our plans for staining the frame to bring out the beautiful natural grain in the wood and explain the look we are aiming to achieve.
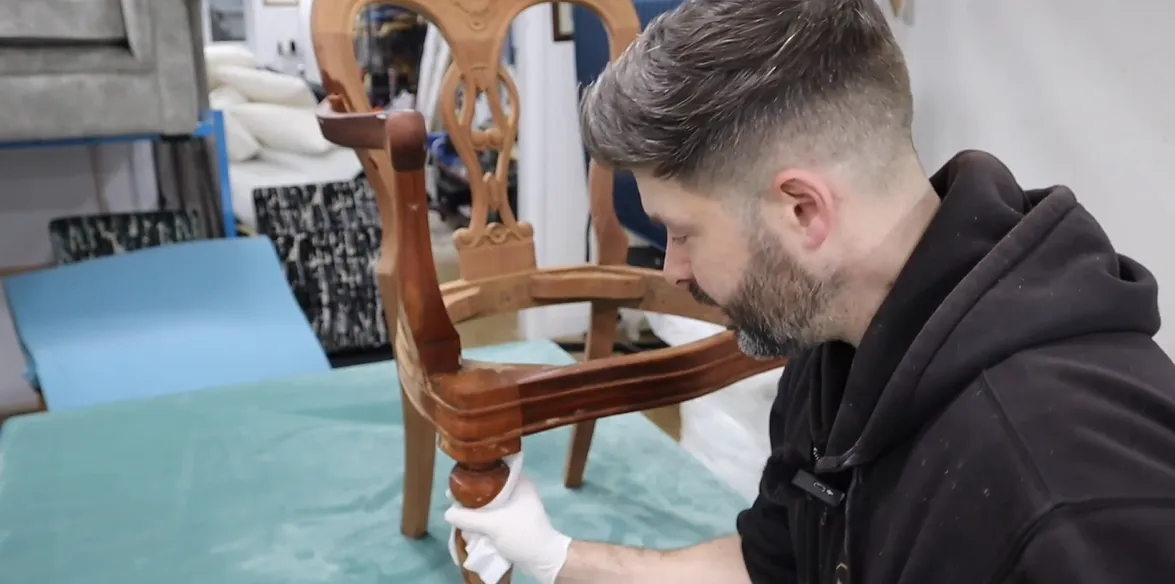
2. Staining & Lacquering the Frame of a Fiddle Back Chair
In this module, we show you how to prepare your Fiddle Back chair frame ready for staining and lacquering. These frames arrive completely bare, so proper preparation is essential for achieving a smooth and long lasting finish.
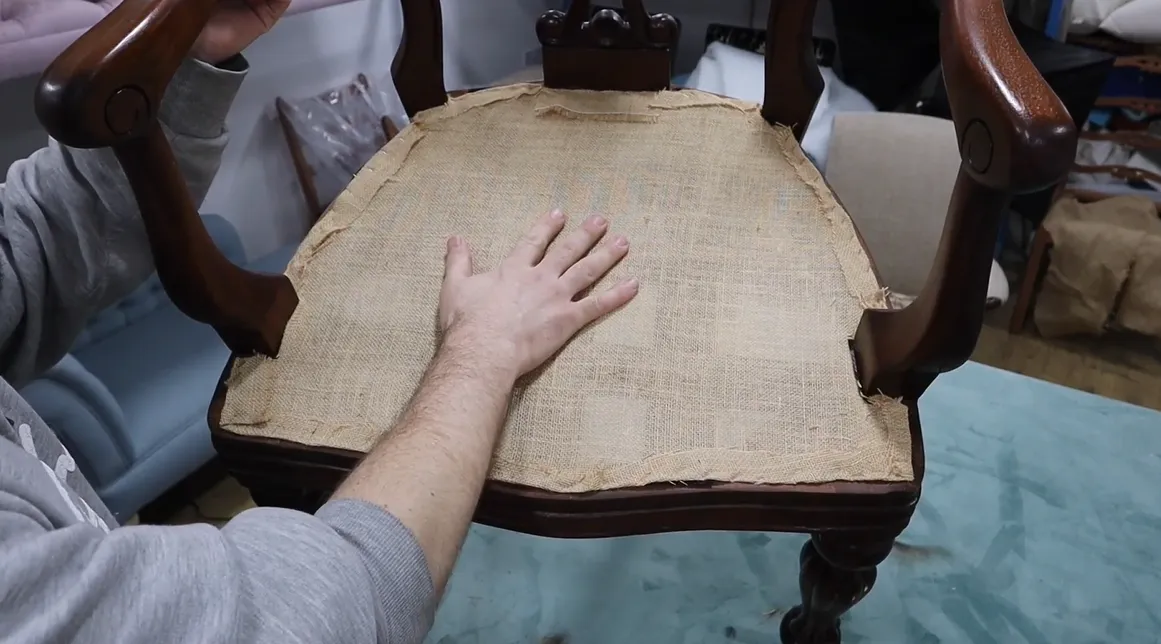
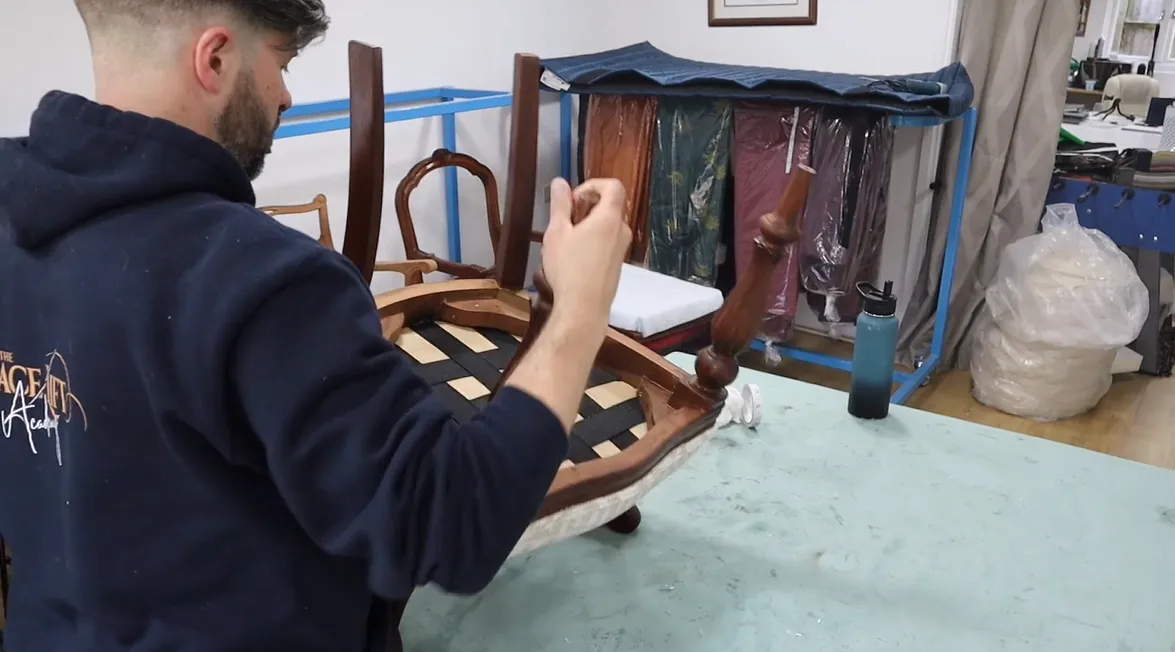
3. How to Prep the Seat of a Fiddle Back Chair
In this module, we show you how to prepare the seat frame of your Fiddle Back chair ready for upholstery. You will learn how to add the webs, how to build up the foam layers and how to create the foundations needed for a comfortable and long lasting seat.
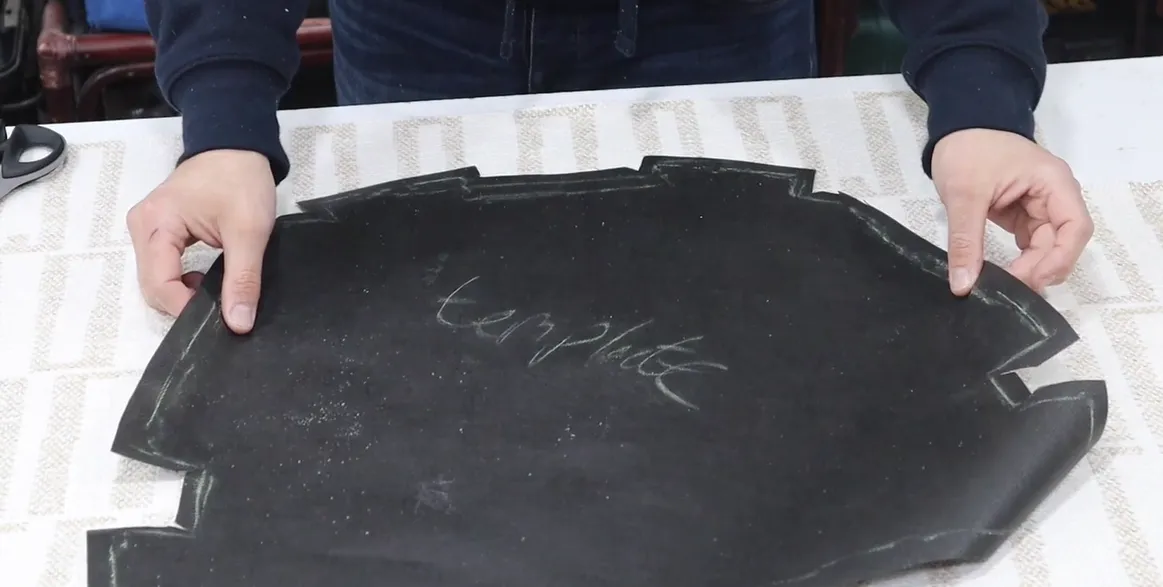
4. How to Cut & Sew the Fabric for the Seat of a Fiddle Back Chair (Including How to Add a Collar)
In this module, we show you how to use the template created in the previous lesson to cut your fabric accurately, including the allowances needed for sewing and stapling. We then guide you through cutting and sewing the collar, which is essential for working neatly around the awkward decorative rail at the back of the seat.
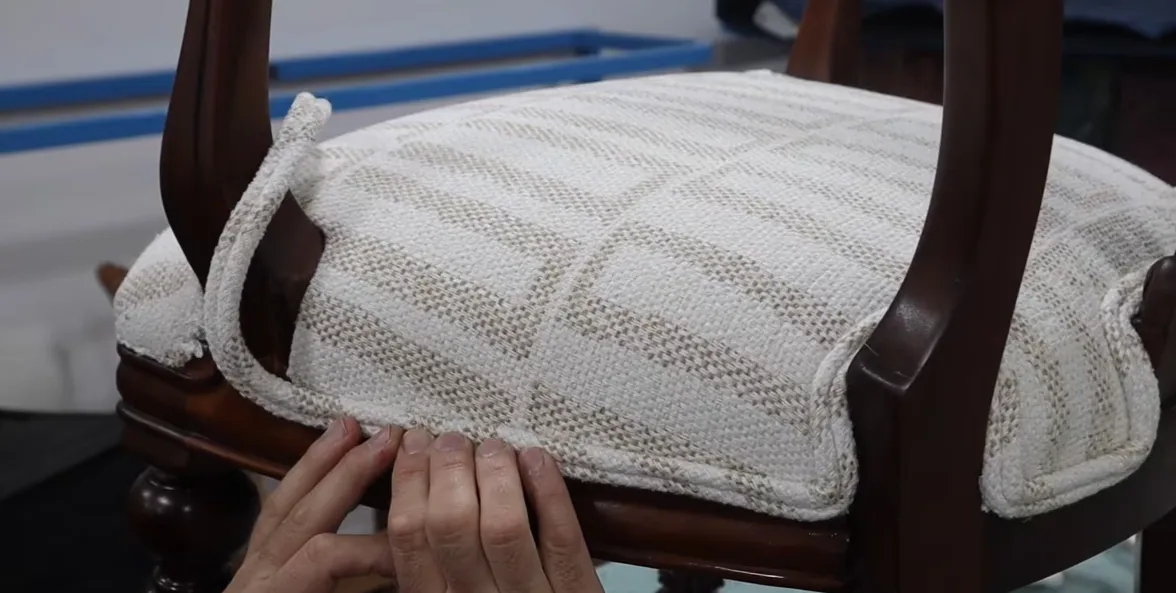
5. How to Upholster the Seat of a Fiddle Back Chair
In this module, we walk you through how to fit the collar onto your Fiddle Back chair and then upholster the rest of the seat step by step. You will learn how to make the correct cuts around the rails so the fabric sits smoothly and follows the contours of the chair without bunching or distortion.
6. How to Attach Double Piping to the Seat of a Fiddle Back Chair
In this module, we show you how to attach the double piping you created in the earlier lesson to the seat of your Fiddle Back chair. We walk you through our preferred method for fixing the piping securely in place, ensuring it sits neatly and enhances the shape of the seat.
7. How to Attach the Bottom (Dust Cover) to a Fiddle Back Chair
In this final module, we show you how to attach a bottom, also known as a dust cover, to the underside of your Fiddle Back chair. This simple but important step hides any staples or webbings and gives the chair a clean, professional finish.