⭐ SPECIAL OFFER | Join thousands of students today. 100% Money-Back Guarantee.

Shaped Headboard Course
8
02:53:51
Advanced
You’ll discover how the finished headboard relates to both the mattress and the bed frame, why proportions matter, and how to avoid common sizing mistakes. We then cover the essential measurements to consider when planning a shaped headboard, helping you think ahead before any materials are cut.
Purchase this course
Upgrade your skills with our one-time purchase upholstery course.
Learn step-by-step techniques—no subscription needed.
👉 Buy once, access forever!
What you will learn
How the Shaped Headboard Course is structured and what to expect from each module
How a shaped headboard should relate to the mattress and bed frame, and why correct proportions matter
The essential measurements needed before cutting any materials
Which type of wood is used for the frame and why it’s chosen for strength, stability, and durability
How to design and create an accurate headboard template
How to ensure your shaped design is perfectly symmetrical for a professional finish
How to transfer your template onto a durable material such as Correx for repeated use
How to build a strong, accurate frame specifically for a shaped headboard
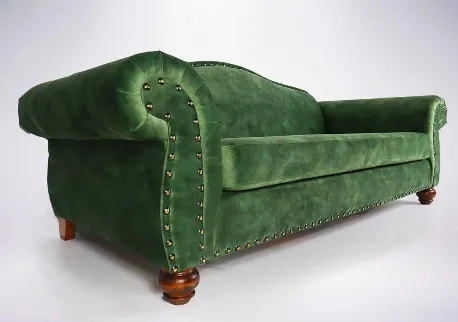
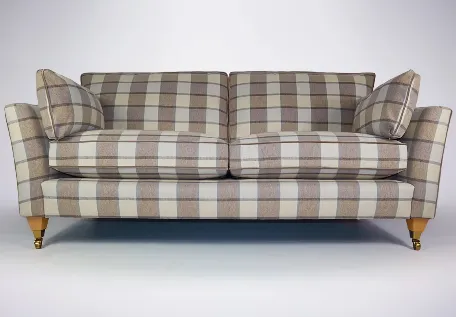
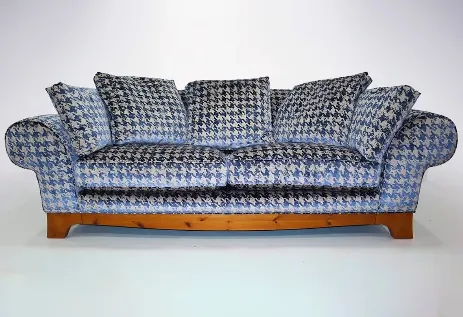
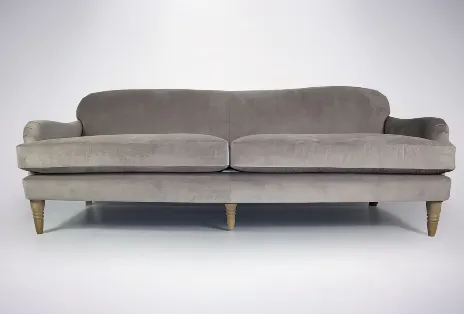
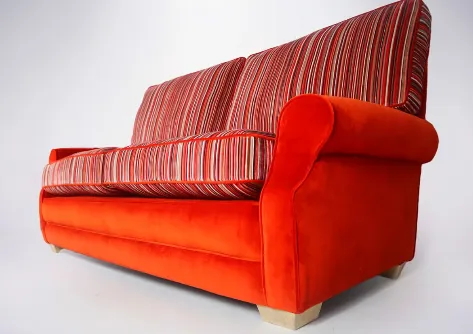
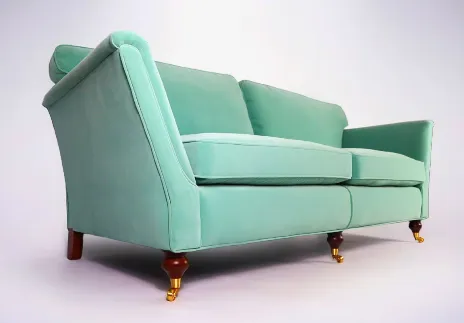
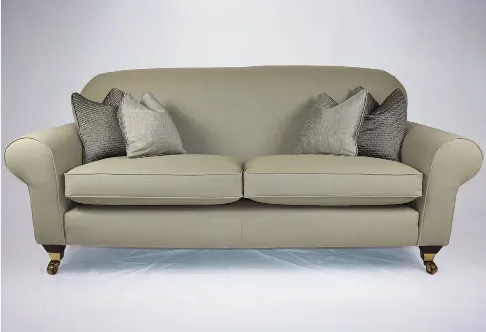
What our students can make
Choose Your Lesson
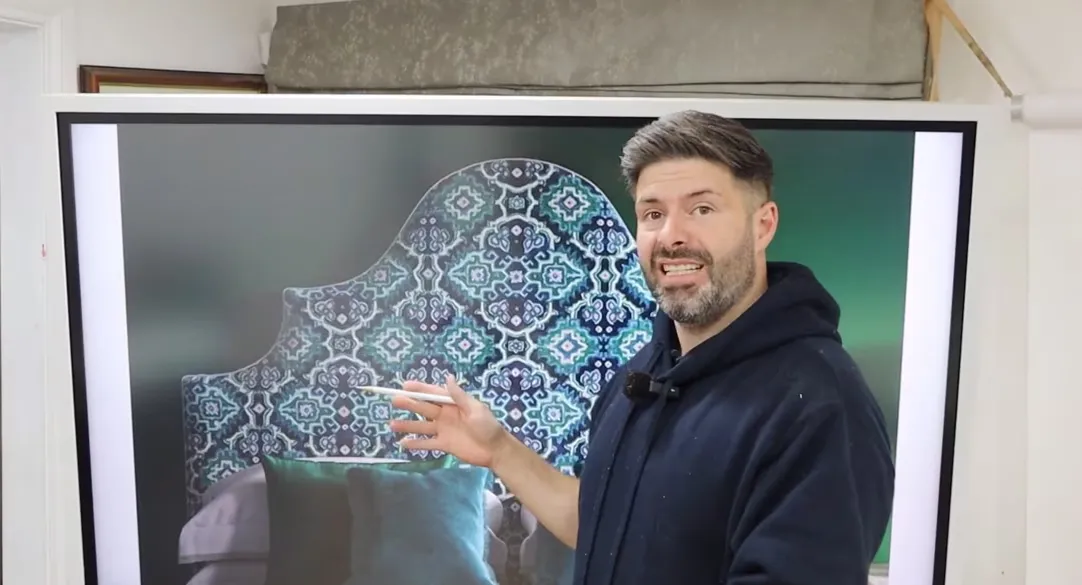
Introduction to the Shaped Headboard Course
In this introductory lesson, we walk you through exactly what to expect from the Shaped Headboard course and how it is structured, module by module.
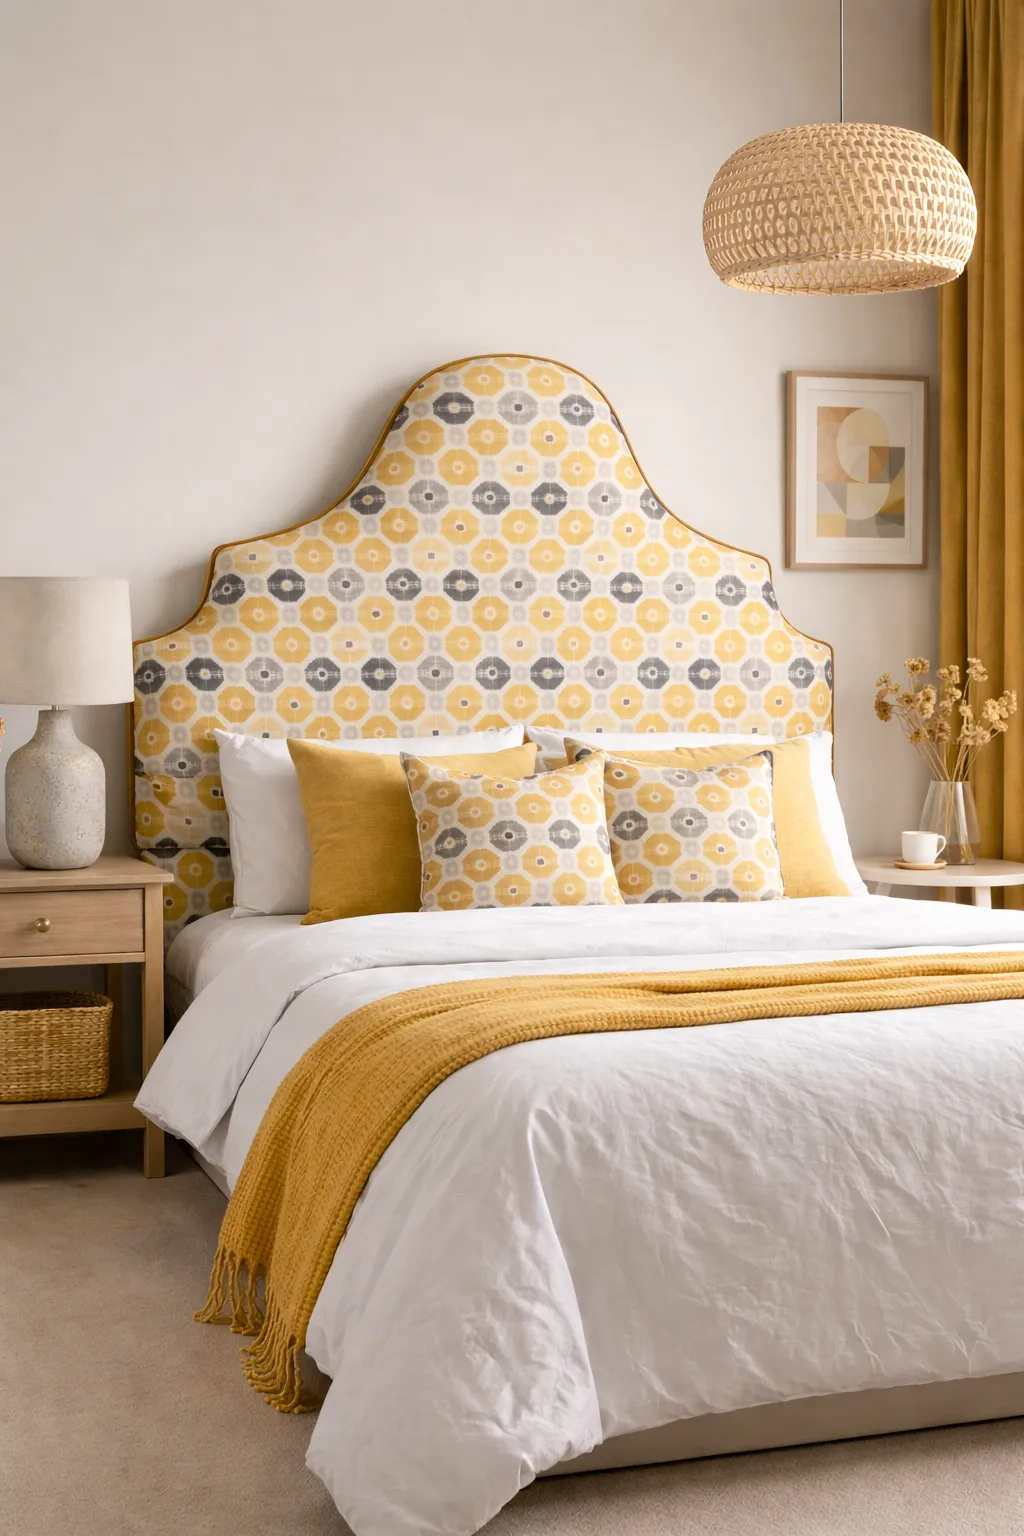
We explain the key differences between UK and US bed sizes and clarify which bed size we will be building the headboard for throughout the course. You’ll also learn how the finished headboard relates to both the mattress and the bed frame, including why proportions matter and how to avoid common sizing mistakes.
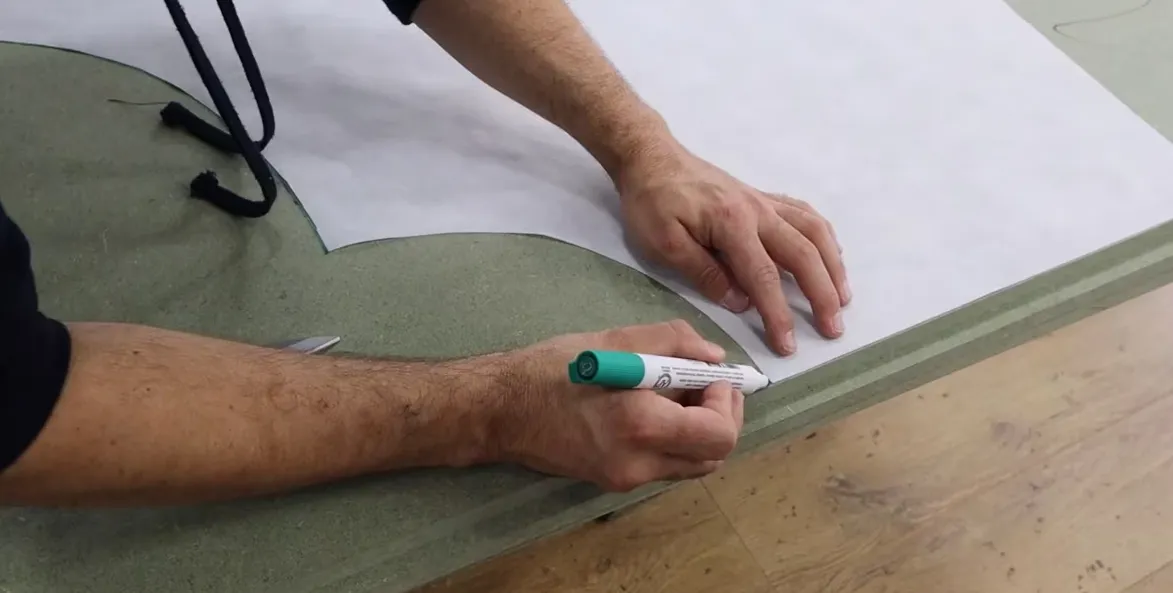
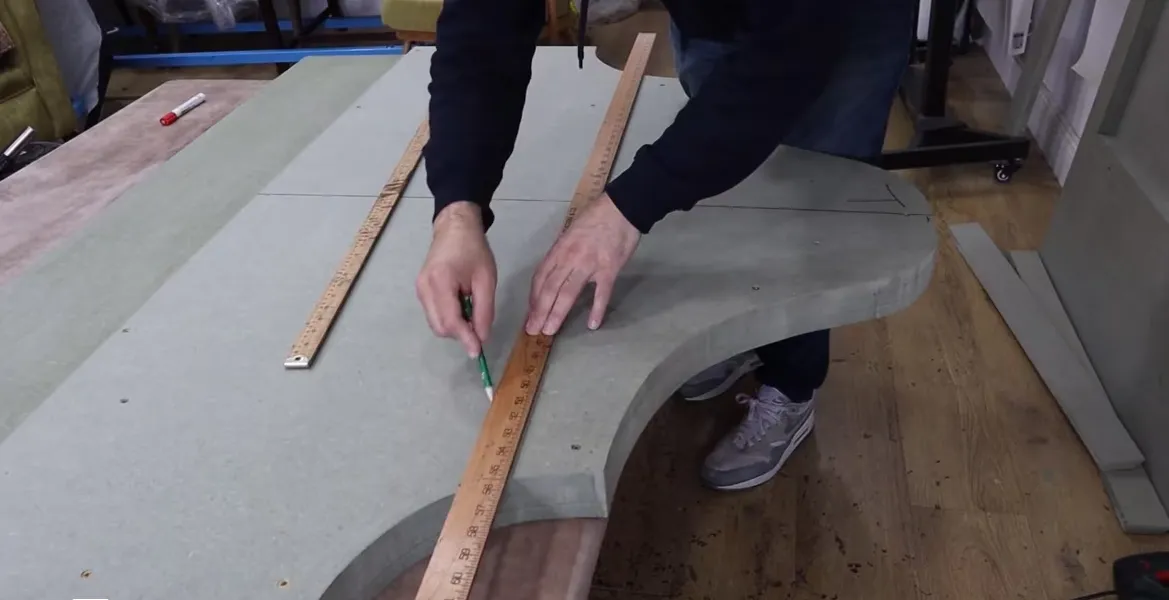
How to Make a Template for a Shaped Headboard
In this lesson, we show you how to properly plan and set out every key measurement for your shaped headboard, including the overall height, width, and the curves that define the final shape.
You’ll learn how to create an accurate template and, crucially, how to ensure the shape is perfectly symmetrical, which is essential for a professional finish on shaped headboards like this.
How to Make a Frame for a Shaped Headboard
This lesson focuses on the woodworking side of the project, guiding you through the full process of building a strong, accurate frame for a bespoke luxury shaped headboard.
Because shaped headboards require a different technique to standard square designs, this method is not the same as what we’ve taught in previous projects. We show you how to construct the frame step by step, with a focus on getting the shape right, keeping everything true, and building a solid foundation for the upholstery stages that follow.
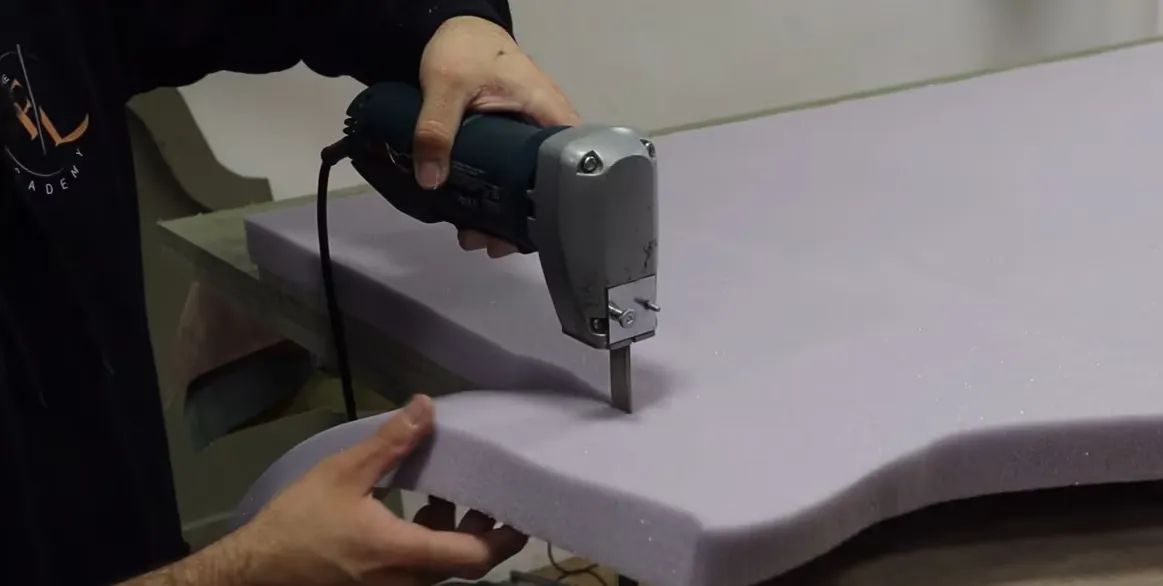
How to Prep the Frame of a Shaped Headboard for Upholstery
In this lesson, we take you through the preparation stage of the headboard frame, getting it ready for upholstery.
We explain the foam density we prefer for a shaped headboard like this and show you how to fix the foam securely to the frame. You’ll then see how to cut and shape the foam so it follows the curves of the frame accurately.
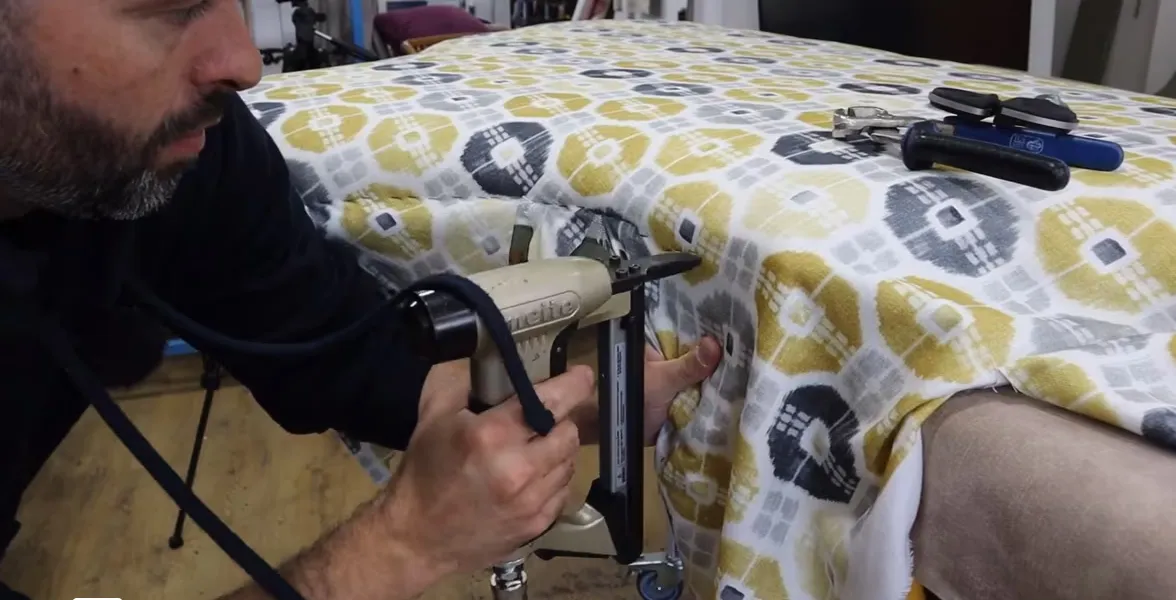
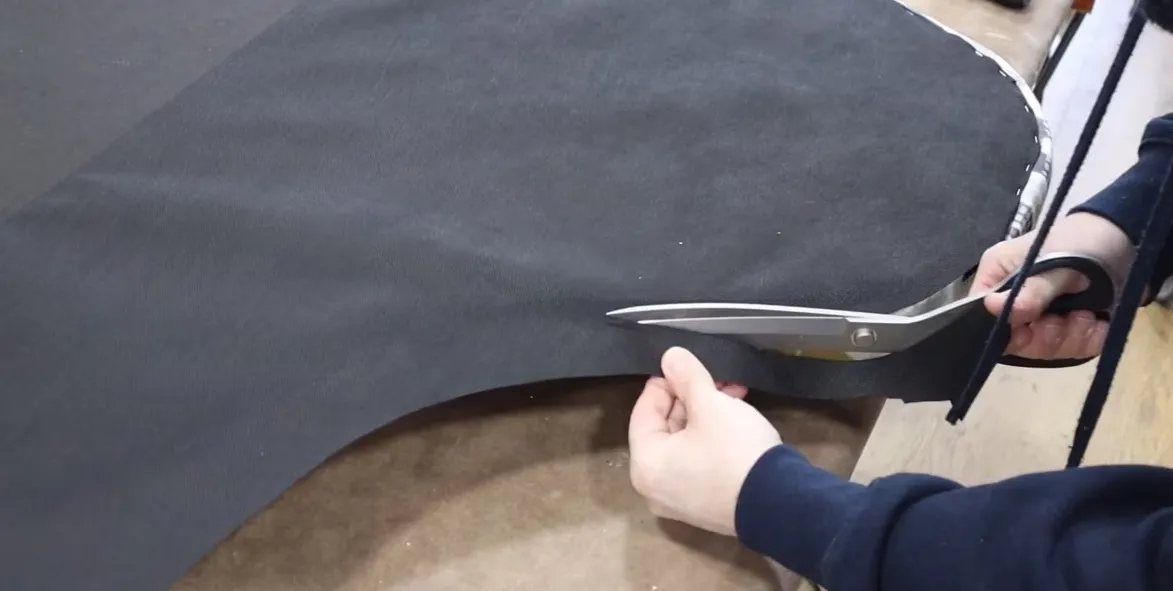
How to Upholster a Shaped Headboard
In this lesson, we guide you through the full upholstery process for a shaped headboard, from fabric planning right through to the final fit.
We start by showing you how to measure and calculate the correct amount of fabric for the headboard. As the width of the headboard exceeds a standard fabric width, we explain where best to introduce joins and how to plan them so they are as discreet as possible.
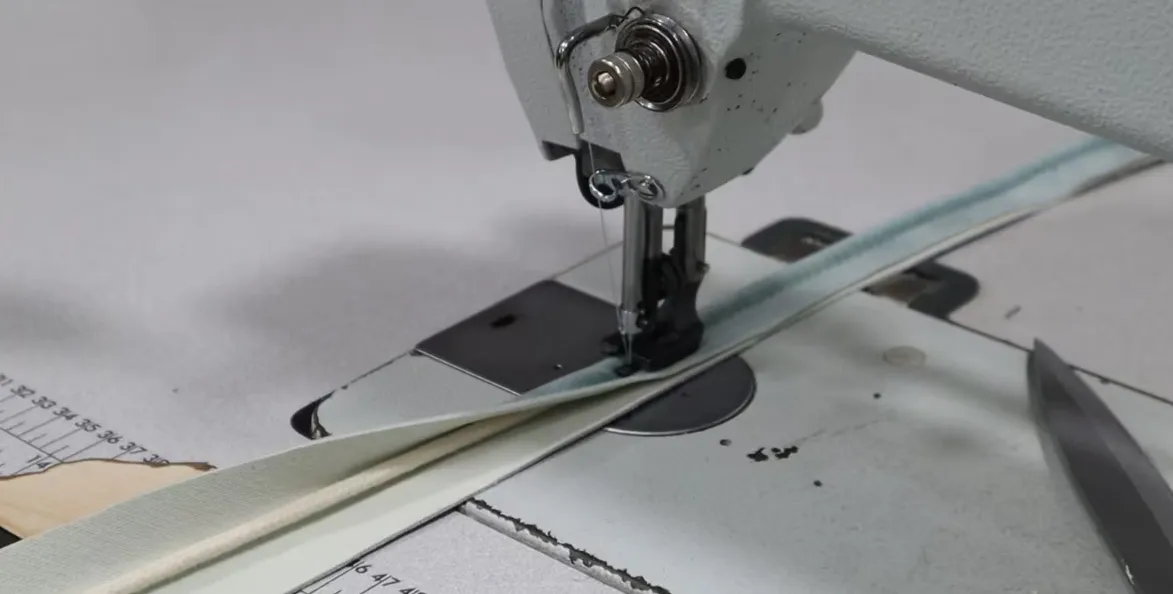
How to Make Piping
This is a bonus lesson designed for absolute beginners who want to learn how to make their own piping from start to finish.
We take you through the full process, including how wide to cut the fabric, what size cord to use, how to join lengths of piping neatly, and how to sew it up ready for upholstery.
How to Fit a Bottom to a Shaped Headboard
In this lesson, we show you how to properly finish the back or bottom of a shaped headboard so it looks neat, tidy, and fully professional.
You’ll learn how to cover the rear of the headboard cleanly, hiding any exposed staples and fixings to create a polished finish. This is arguably one of the most important stages of the process, as it’s often the first thing a customer sees when the headboard is carried into their home.
How to Hang a Shaped Headboard
on the Wall
In this final lesson, we show you how to securely hang your shaped headboard onto the wall.
We demonstrate how to use a French cleat to create a strong, reliable fixing that properly supports the weight of the headboard while keeping it flush to the wall. You’ll then learn how to measure, mark, and position the fixings accurately so the headboard sits exactly where it should.